Docker Hub地址:https://hub.docker.com/
(1)注册用户:
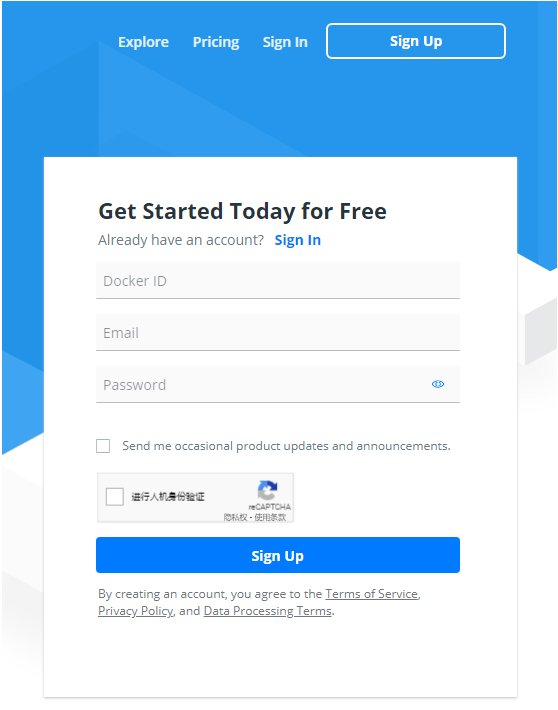
说明:
Sign In:登陆,已有账户,点击这里进行登陆。Sign Up:注册,没有账户,点击这里进行注册。Get Started Today for Free :立刻免费开始。Already have an account? Sign In:已经有帐号了? 登入。Send me occasional product updates and announcements.:给我发送产品更新和公告。By creating an account, you agree to the Terms of Service, Privacy. Poligy, and Data Processing Terms.:创建帐户即表示您同意“服务条款,隐私”。 政策和数据处理条款。上面的解释已经很清楚了,我们直接填写用户名、邮箱、密码,勾选进行人机身份验证,最后点击Sign Up即可。
(2)验证用户:
之后去我们的邮箱进行验证:

感谢加入Docker。完成注册,请点击下面的按钮来验证您的帐户。
点击:Verify email address:验证电子邮件。
之后会跳转到如下界面:
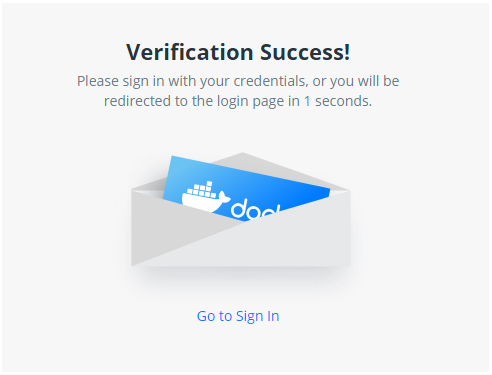
提示您:验证成功!请使用您的凭据登录。
之后Docker会再给你发送一封邮件,内容为:恭喜您,您的帐户已被验证,欢迎访问Docker。
然后我们就可以用上边注册的用户名密码进行登陆了。
(3)登陆Docker Hub
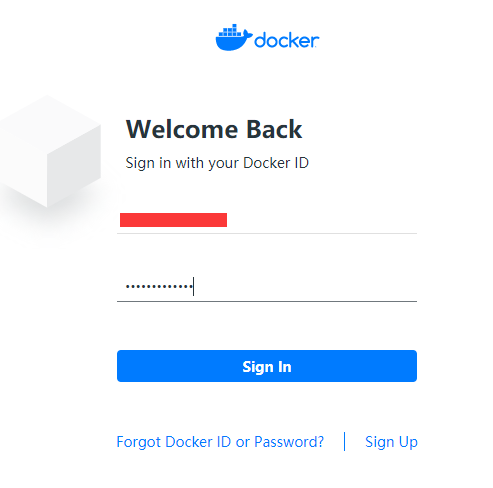
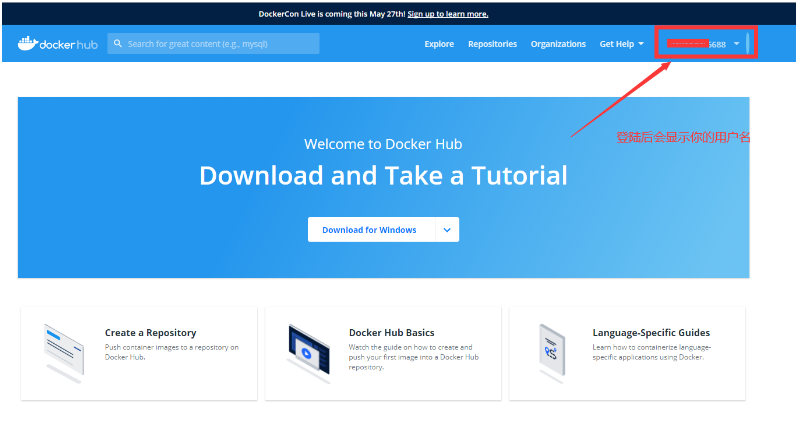
登陆Docker Hub,会在右上角显示当前用户名称。
登陆命令:docker login
[root@192 tomcatlogs]# docker login --helpUsage: docker login [OPTIONS] [SERVER]Log in to a Docker registry.If no server is specified, the default is defined by the daemon.Options: -p, --password string Password --password-stdin Take the password from stdin -u, --username string Username演示:
# 用户名或密码错误[root@192 ~]# docker login -u xxxxx6688Password: Error response from daemon: Get https://registry-1.docker.io/v2/: unauthorized: incorrect username or password# 登陆成功[root@192 ~]# docker login -u xxxxx6688Password: WARNING! Your password will be stored unencrypted in /root/.docker/config.json.Configure a credential helper to remove this warning. Seehttps://docs.docker.com/engine/reference/commandline/login/#credentials-storeLogin Succeeded登录完毕后就可以提交镜像了。
说明:
- docker login : 登陆到一个Docker镜像仓库,如果未指定镜像仓库地址,默认为官方仓库 Docker Hub
- docker logout : 登出一个Docker镜像仓库,如果未指定镜像仓库地址,默认为官方仓库 Docker Hub
登出示例:
[root@192 ~]# docker logoutRemoving login credentials for https://index.docker.io/v1/提交命令:docker pull 镜像名:TAG
[root@192 tomcatlogs]# docker push --helpUsage: docker push [OPTIONS] NAME[:TAG]Push an image or a repository to a registryOptions: -a, --all-tags Push all tagged images in the repository --disable-content-trust Skip image signing (default true) -q, --quiet Suppress verbose output示例:
# 查看本地Docker镜像[root@192 ~]# clear[root@192 ~]# docker imagesREPOSITORY TAG IMAGE ID CREATED SIZEdiytomcat9 latest 12988584a30e 14 hours ago 607MBcentos latest 300e315adb2f 3 months ago 209MB# 把diytomcat9镜像发布到Docker Hub[root@192 ~]# docker push diytomcat9Using default tag: latestThe push refers to repository [docker.io/library/diytomcat9]b4ef62e90bac: Preparing5da8b73f85d7: Preparing68a0171f3cc4: Preparing76f4ae6e5125: Preparing2653d992f4ef: Preparing可以看到,向远程仓库推送镜像的时候,也是按照镜像的层级来进行推送的。
提示:我看网上说有用
docker push 注册用户名/镜像名:TAG来进行提交,亲测不用加用户名。
发布镜像到Docker Hub很简单,只需要两步:
docker login:登陆Docker Hub。docker push:发布镜像到Docker Hub。作用貌似是,修改本地镜像名称和版本号,其实是给镜像打标记。
使用命令:docker tag SOURCE_IMAGE[:TAG] TARGET_IMAGE[:TAG]
作用:给本地镜像打一个标记(tag),可将其归入某一仓库。
演示:
# 查看本地Docker镜像[root@192 ~]# docker imagesREPOSITORY TAG IMAGE ID CREATED SIZEdiytomcat9 latest 12988584a30e 14 hours ago 607MBcentos latest 300e315adb2f 3 months ago 209MB# 给diytomcat9镜像打tag标记[root@192 ~]# docker tag 12988584a30e wukong/tomcat9:1.8# 再次查看本地Docker镜像[root@192 ~]# docker imagesREPOSITORY TAG IMAGE ID CREATED SIZEdiytomcat9 latest 12988584a30e 14 hours ago 607MBwukong/tomcat9 1.8 12988584a30e 14 hours ago 607MBcentos latest 300e315adb2f 3 months ago 209MB提示:镜像打了新的TAG,虽然会多了一条镜像记录,但是从IMAGE ID可以得知他们是同一个镜像。
实际使用场景:
tag进行记录当前版本,可以打个V1。V2。latest最新。