参考:Installation | Apache Flink
Python version (3.6, 3.7 or 3.8) is required for PyFlink. Please run the following command to make sure that it meets the requirements:$ python --version# the version printed here must be 3.6, 3.7 or 3.8这里你可以安装python3或者Anaconda3,最后通过python -V命令查看版本信息
本次安装基于flink1.13.2版本
python -m pip install apache-flink==1.13.2In addition you need Maven 3 and a JDK (Java Development Kit). Flink requires at least Java 8 to build.
maven选择3.2.5版本,java选择高一点的java8版本
参考:Building Flink from Source | Apache Flink
下载源码:(这里我从其他网址下载的1.13.2的源码)
git clone https://github.com/apache/flink.git编译:编译的过程中可能会报错,具体解决就好
mvn clean install -DskipTests #To speed up the build you can skip tests, QA plugins, and JavaDocs:或者:mvn clean install -DskipTests -Dfast 编译完成后开始处理pyflink的事情
安装gcc【可选】
yum install -y gcc gcc-c++安装依赖(flink-python目录在flink编译目录下面)
python -m pip install -r flink-python/dev/dev-requirements.txt然后转到 flink 源代码的根目录并运行此命令来构建 和 的 sdist 包和 wheel 包:apache-flink,apache-flink-libraries的 sdist 包可以在 下找到。它可以按如下方式安装:apache-flink-libraries``./flink-python/apache-flink-libraries/dist/
cd flink-python; python setup.py sdist bdist_wheel; cd apache-flink-libraries; python setup.py sdist; cd ..;如果是公司内网,这里需要配置pip源,安装的时候有依赖,因为我编译的时候使用的是虚拟机,可以上网的
python -m pip install apache-flink-libraries/dist/*.tar.gzpython -m pip install dist/*.tar.gz通过pip list | grep flink命令查看安装效果

该模式多用于开发测试阶段,简单的利用 Python pyflink_job.py 命令,PyFlink 就会默认启动一个 Local-SingleJVM 的 Flink 环境来执行作业,如下:
写一个脚本:wordcount.py
from pyflink.table import DataTypes, TableEnvironment, EnvironmentSettingsfrom pyflink.table.descriptors import Schema, OldCsv, FileSystemfrom pyflink.table.expressions import litsettings = EnvironmentSettings.new_instance().in_batch_mode().use_blink_planner().build()t_env = TableEnvironment.create(settings)# write all the data to one filet_env.get_config().get_configuration().set_string("parallelism.default", "1")t_env.connect(FileSystem().path('/tmp/input')) \ .with_format(OldCsv().field('word', DataTypes.STRING())) \ .with_schema(Schema().field('word', DataTypes.STRING())) \ .create_temporary_table('mySource')t_env.connect(FileSystem().path('/tmp/output')) \ .with_format(OldCsv().field_delimiter('\t') \ .field('word', DataTypes.STRING()) \ .field('count', DataTypes.BIGINT())) \ .with_schema(Schema() \ .field('word', DataTypes.STRING()) \ .field('count', DataTypes.BIGINT())) \ .create_temporary_table('mySink')tab = t_env.from_path('mySource')tab.group_by(tab.word).select(tab.word, lit(1).count).execute_insert('mySink').wait()在shell 命令行执行:
echo -e "flink\npyflink\nflink" > /tmp/inputpython wordcount.pycat /tmp/output
参考:PyFlink 安装和使用
这种模式一般用在单机环境中进行部署,如 IoT 设备中,我们从 0 开始进行该模式的部署操作。我们进入到 flink/build-target 目录,执行如下命令:
cd /root/flink-1.13.2/build-target/bin/ ./start-cluster.sh
登陆http://ip:8081查看
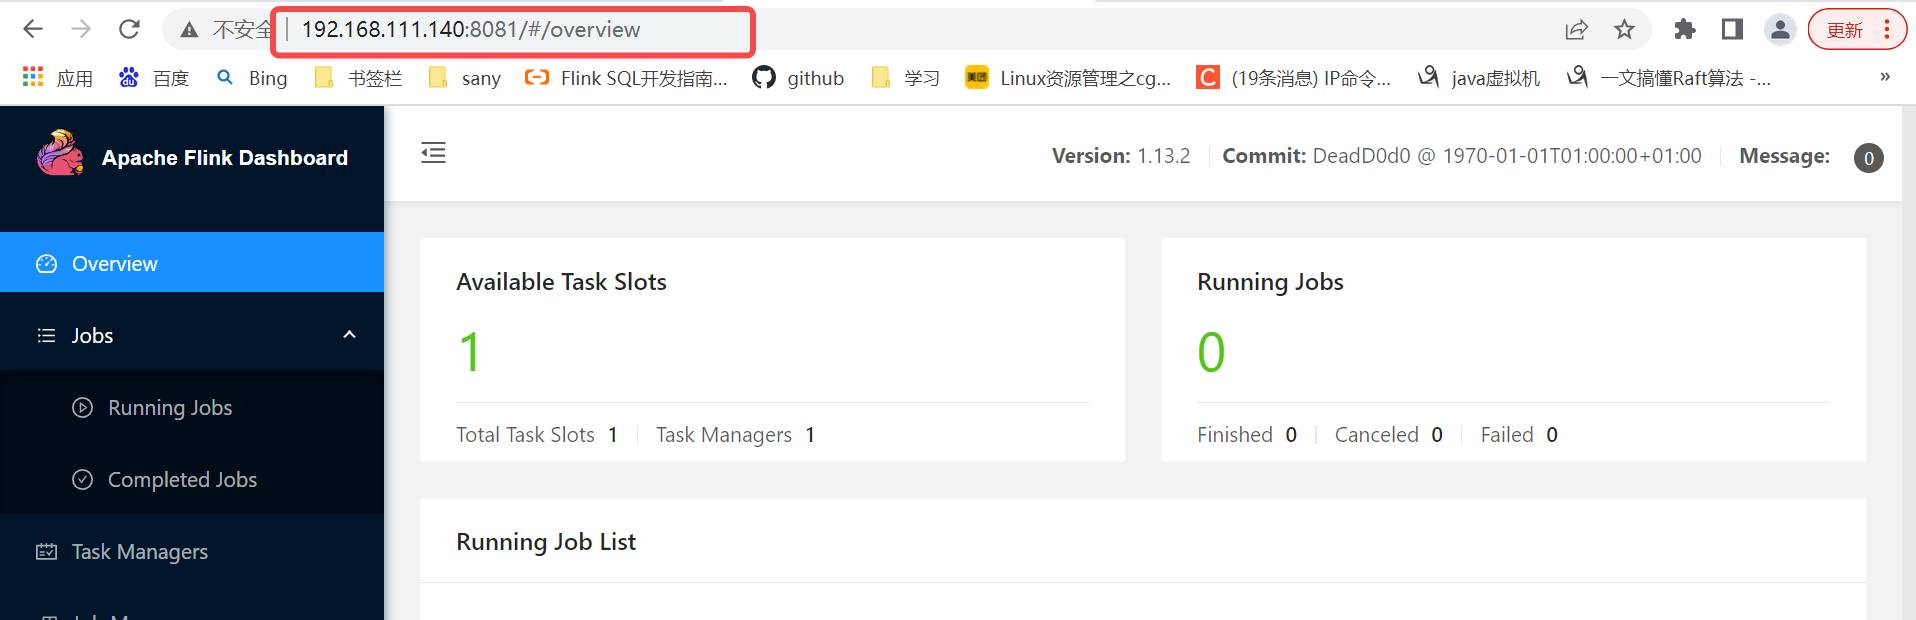
提交作业:
/root/flink-1.13.2/build-target/bin/flink run -m localhost:8081 -py /root/wordcount.py
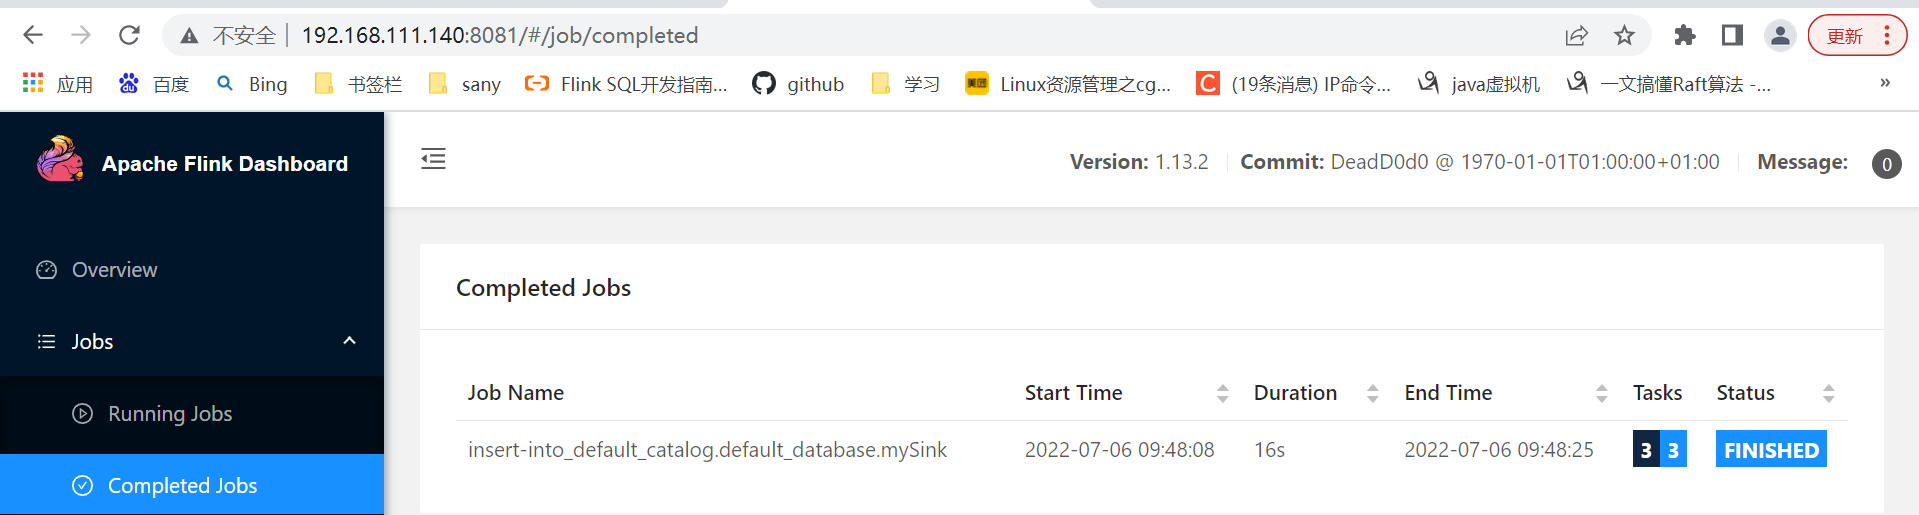
参考:PyFlink 作业的多种部署模式