项目源码:
链接:https://pan.baidu.com/s/1H3Y0ct8xgfVkgq4XsniqFA
提取码:nzl3
我们将定义一个api和要访问它的客户端,客户端将在identityser上请求访问令牌,并使用访问令牌调用api
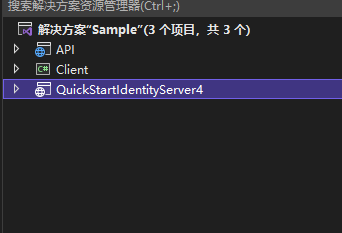
1、创建项目QuickStartIdentityServer4的asp.net 3.1项目,端口号5001,NuGet: IdentityServer4
2、创建项目API的asp.net 3.1项目,端口号5000,NuGet: Microsoft.AspNetCore.Authentication.JwtBearer
3、创建项目Client控制台项目(sp.net 3.1),模拟客户端请求,NuGet: IdentityModel
public static class Config { // 定义api范围 public static IEnumerable<ApiScope> ApiScopes => new [] { new ApiScope { Name="sample_api", // 范围名称,自定义 DisplayName="Sample API" // 范围显示名称,自定义 } }; // 定义客户端 public static IEnumerable<Client> Clients => new[] { new Client { ClientId="sample_client", // 客户端id ClientSecrets = { new Secret("sample_client_secret".Sha256()) // 客户端秘钥 }, AllowedGrantTypes=GrantTypes.ClientCredentials, //授权类型为客户端 AllowedScopes={ "sample_api" } // 设置该客户端允许访问的api范围 } }; }
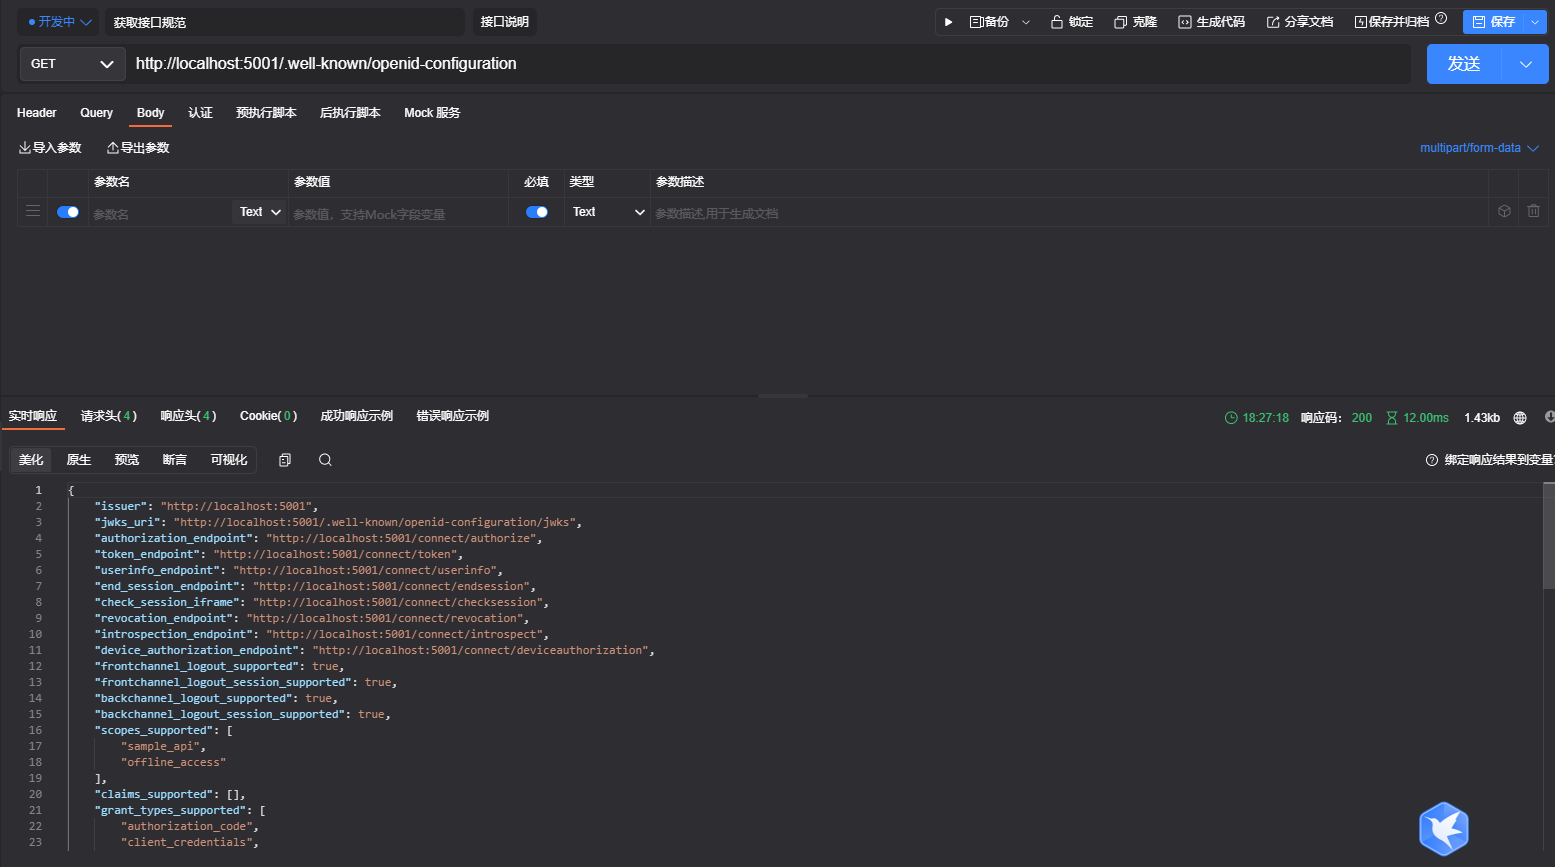
public void ConfigureServices(IServiceCollection services) { var builder=services.AddIdentityServer(); builder.AddDeveloperSigningCredential(); builder.AddInMemoryApiScopes(Config.ApiScopes); builder.AddInMemoryClients(Config.Clients); }
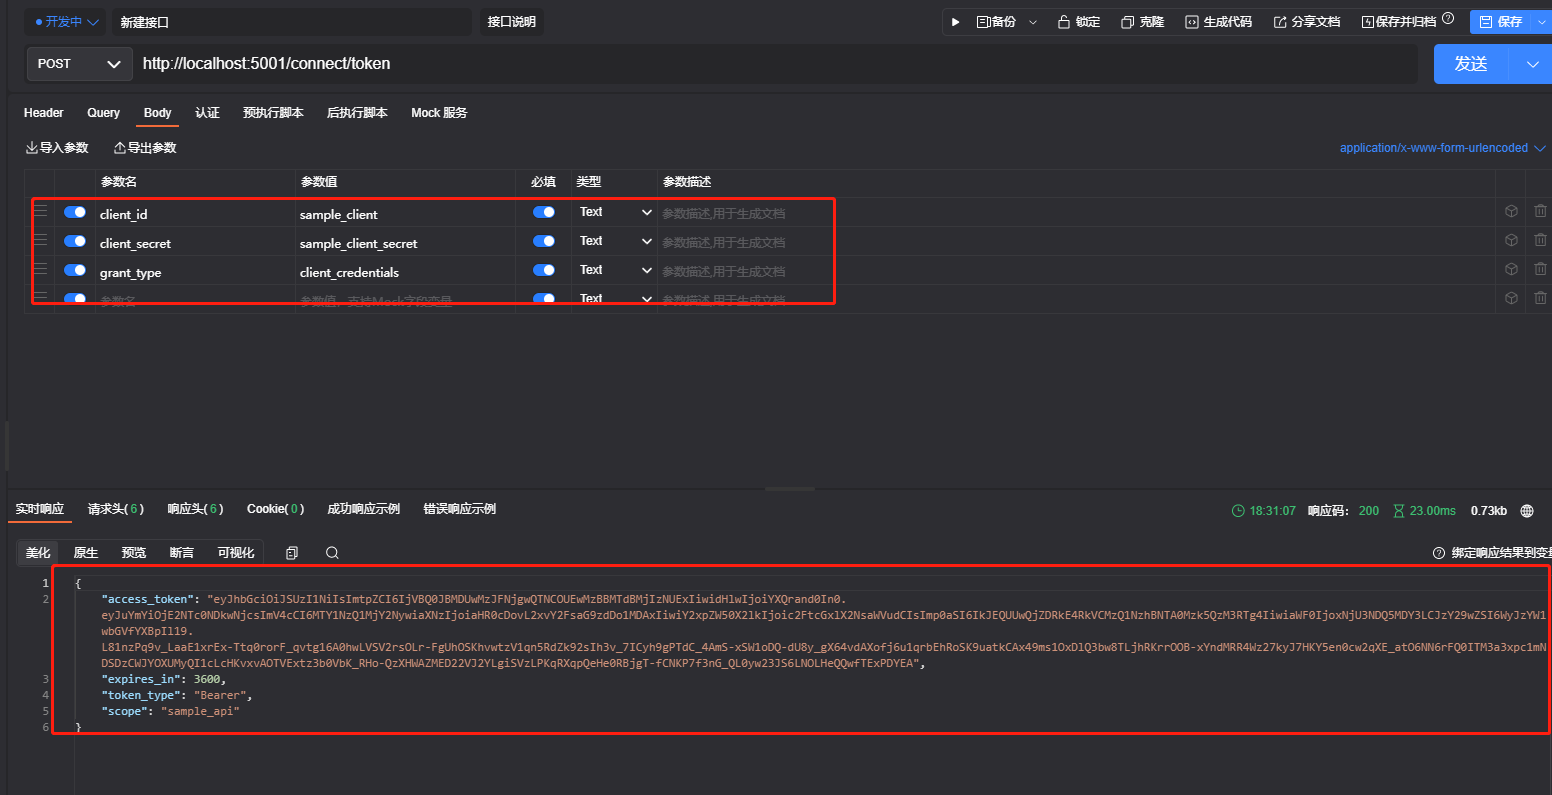
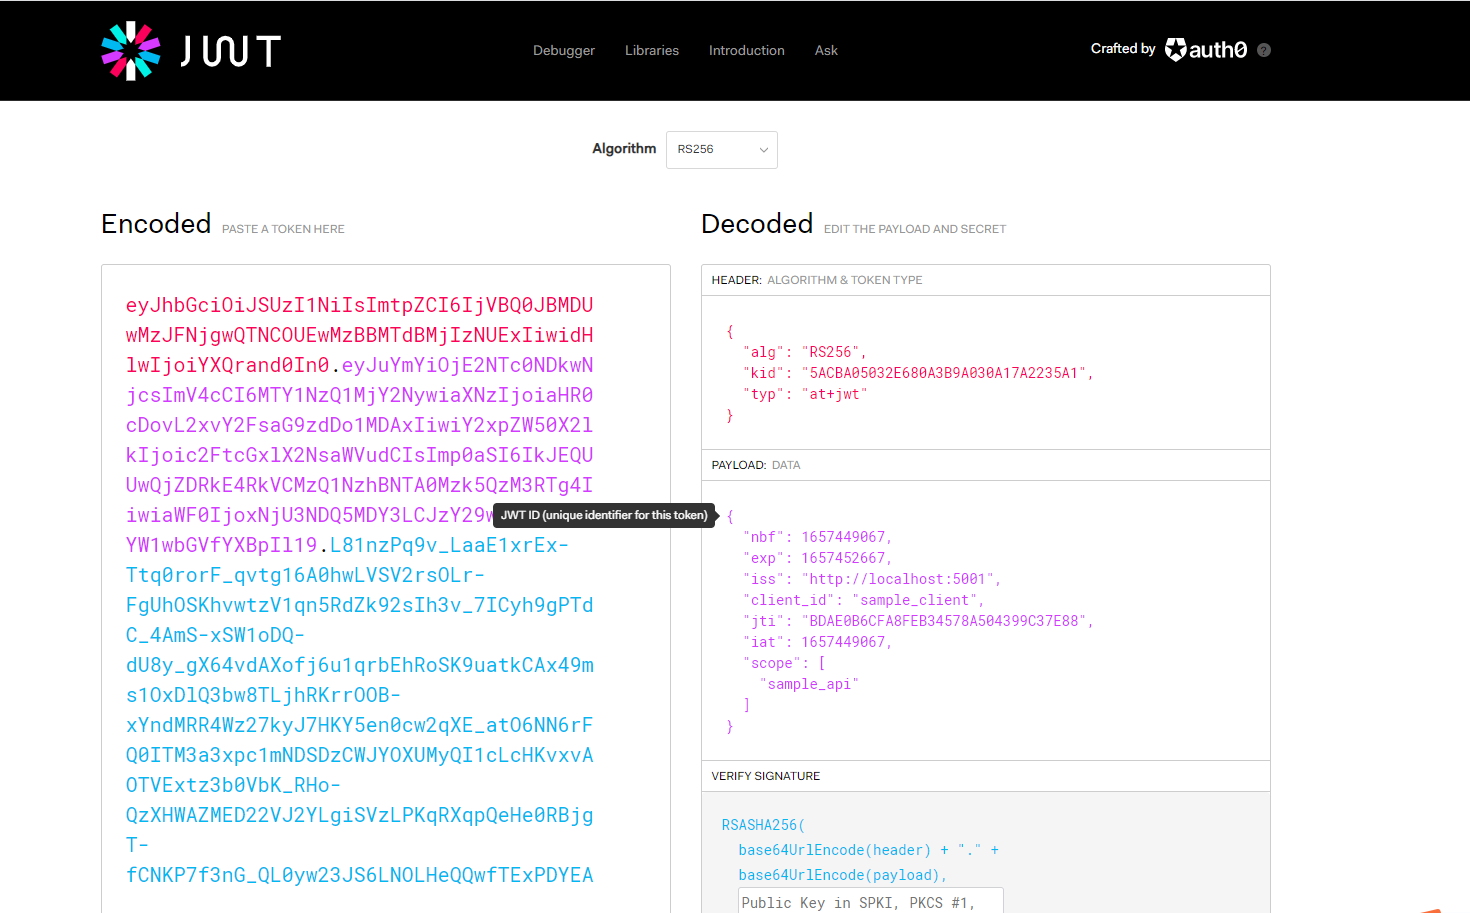
该token是基于jwt,我们可以在jwt官网进行查看验证,如图
public void ConfigureServices(IServiceCollection services) { services.AddControllers(); // 添加JWT认证方案 services.AddAuthentication("Bearer") .AddJwtBearer("Bearer", option => { // OIDC服务地址 option.Authority = "http://localhost:5001"; // 不使用Https option.RequireHttpsMetadata = false; // 设置JWT的验证参数 option.TokenValidationParameters = new Microsoft.IdentityModel.Tokens.TokenValidationParameters() { // 因为使用的是api范围访问,该参数需设置false ValidateAudience=false }; }); // 添加api授权策略 services.AddAuthorization(options => { // "ApiScope"为策略名称 options.AddPolicy("ApiScope", builder => { builder.RequireAuthenticatedUser(); // 鉴定claim是否存在 builder.RequireClaim("scope", "sample_api"); }); }); } // This method gets called by the runtime. Use this method to configure the HTTP request pipeline. public void Configure(IApplicationBuilder app, IWebHostEnvironment env) { if (env.IsDevelopment()) { app.UseDeveloperExceptionPage(); } app.UseRouting(); // 认证 app.UseAuthentication(); // 授权 app.UseAuthorization(); app.UseEndpoints(endpoints => { endpoints.MapControllers(); // 设置全局策略,应用于所有api //endpoints.MapControllers().RequireAuthorization("ApiScope"); }); }
[Route("IdentityServer")] [Authorize("ApiScope")] public class IdentityServerController : ControllerBase { public IActionResult Get() { return new JsonResult(from claim in User.Claims select new { claim.Type,claim.Value }); } }
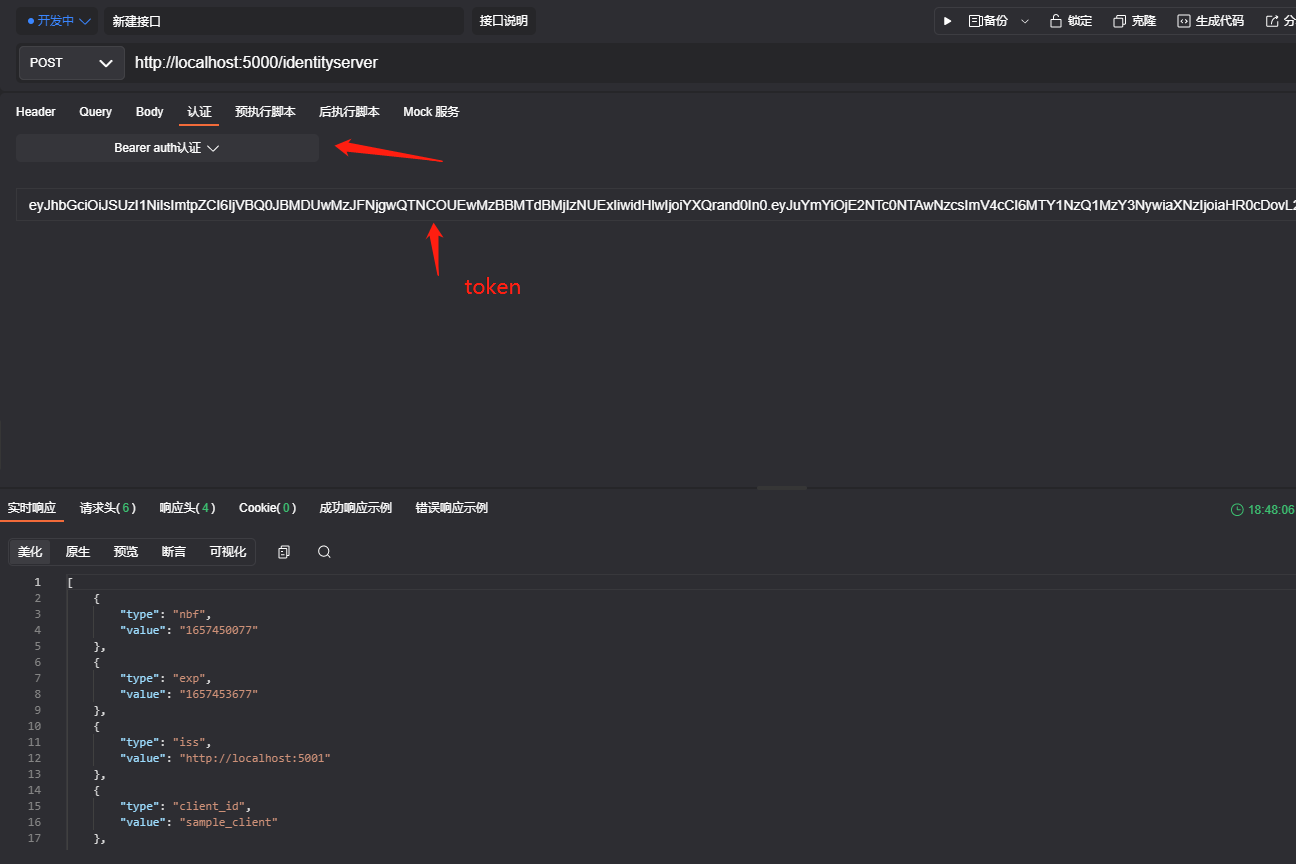
internal class Program { static async Task Main(string[] args) { var client = new HttpClient(); var disco = await client.GetDiscoveryDocumentAsync("http://localhost:5001"); if (disco.IsError) { Console.WriteLine(disco.Error); return; } var tokenResponse = await client.RequestClientCredentialsTokenAsync( new ClientCredentialsTokenRequest { Address= disco.TokenEndpoint, ClientId= "sample_client", ClientSecret= "sample_client_secret" } ); if(tokenResponse.IsError) { Console.WriteLine(tokenResponse.Error); return; } Console.WriteLine(tokenResponse.Json); var apiClient = new HttpClient(); apiClient.SetBearerToken(tokenResponse.AccessToken); var response = await apiClient.PostAsync("http://localhost:5000/IdentityServer", null); if (!response.IsSuccessStatusCode) { Console.WriteLine(response.StatusCode); } else { var content = await response.Content.ReadAsStringAsync(); Console.WriteLine(JArray.Parse(content)); } Console.ReadKey(); } }
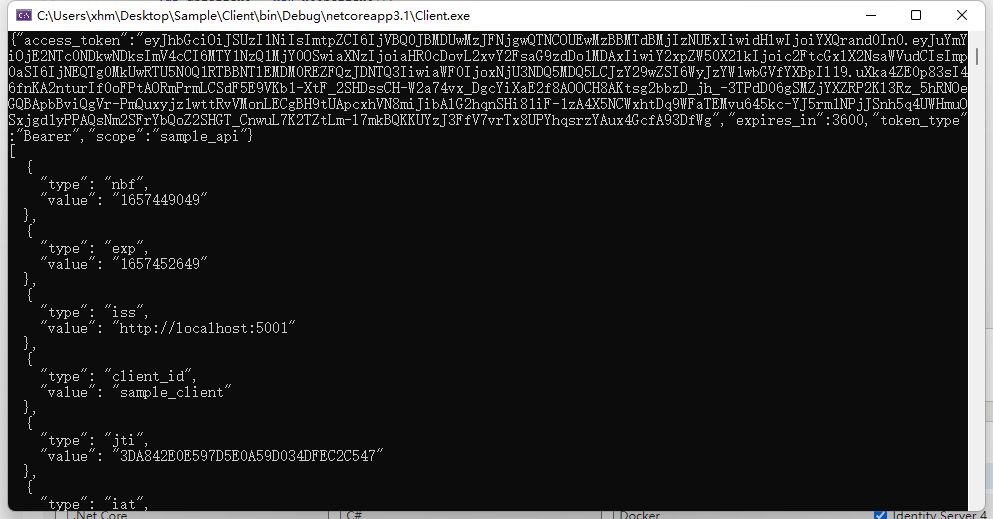
项目运行效果如图
学习链接地址:https://www.cnblogs.com/stulzq/p/7495129.html